I recently got the chance to spend a Saturday in my garden dyeing with indigo. A mixture of fibres went into my indigo dye vat, including:
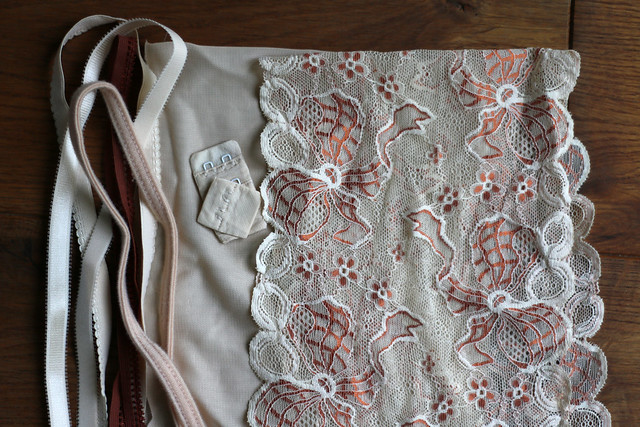
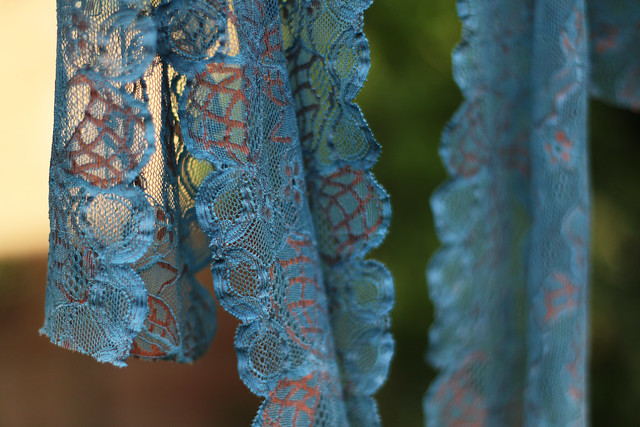
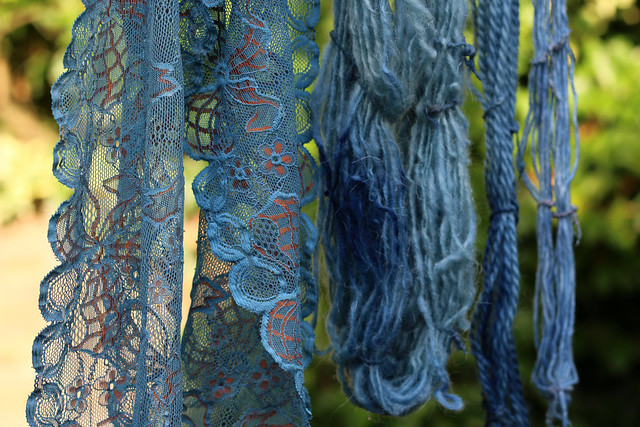
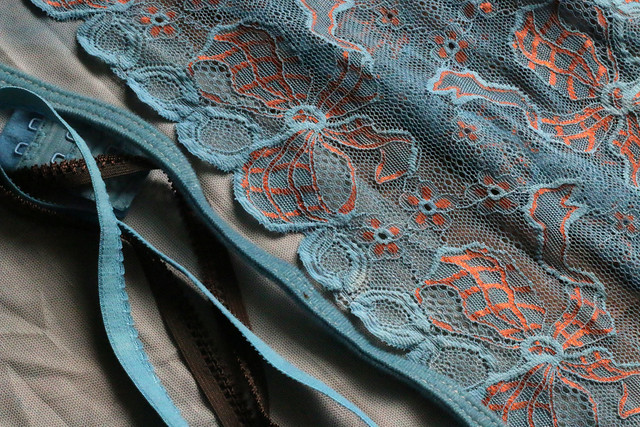
A lingerie kit purchased from Merckwaerdigh. I purchased it with the intention of dyeing it, so selected a nude and copper kit, which was the lightest coloured kit in the shop at the time.
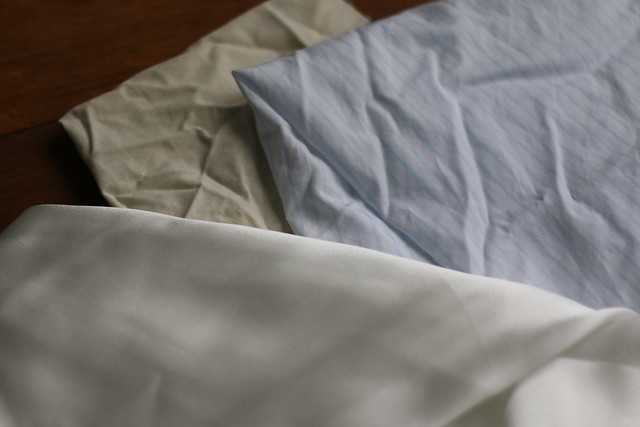
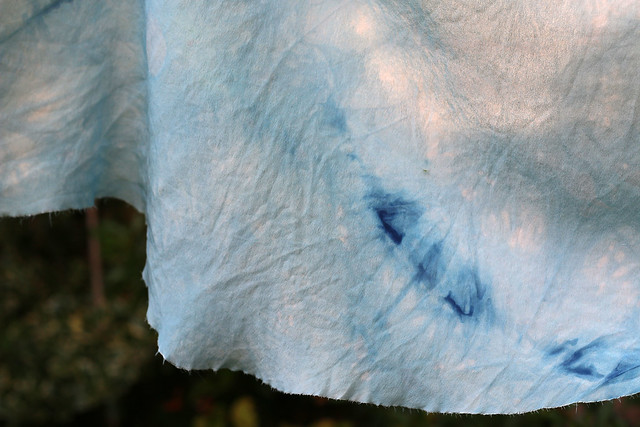
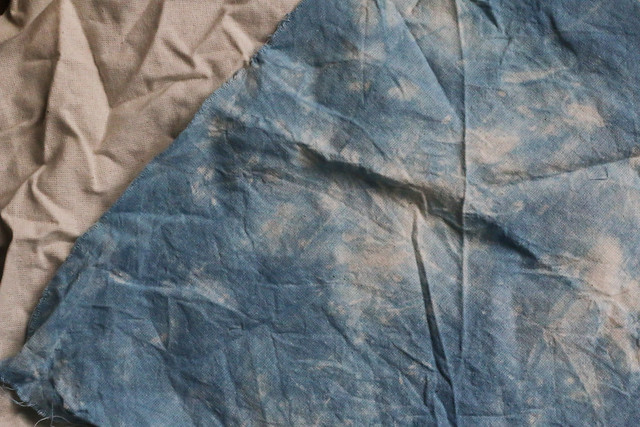
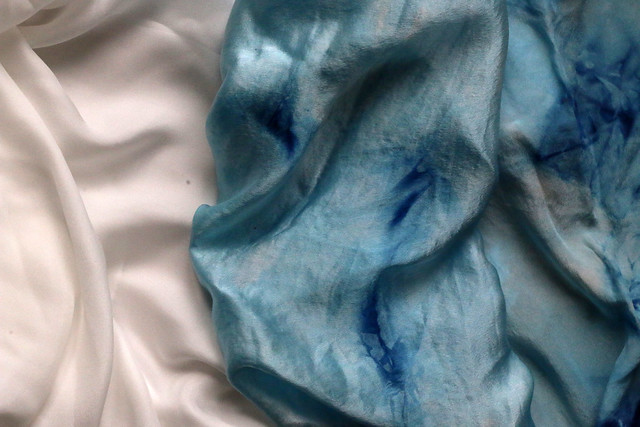
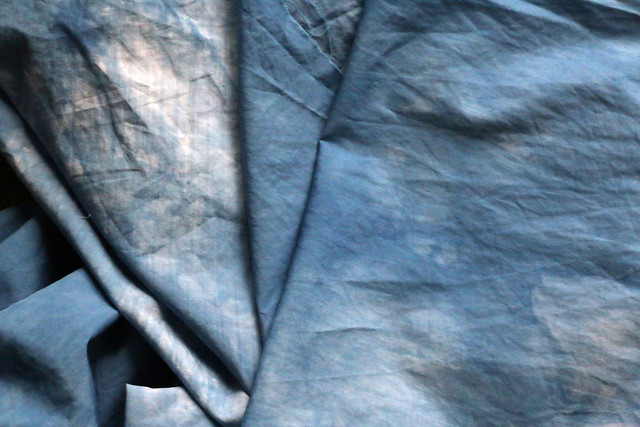
Three pieces of fabric. A small square of Ikea unbleached cotton (back), Paul Smith cotton shirting purchased during the Sewing for Pleasure show at the NEC back in March (right), and organic silk from Majestic Textiles (left).
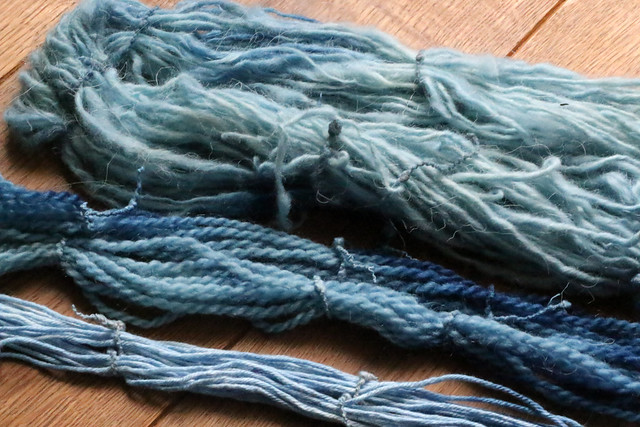
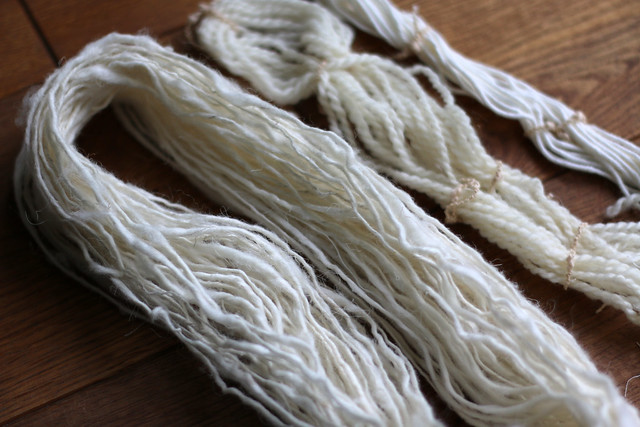
I also added a small amount of yarn to the pot, including my first attempt at hand spun yarn (left), 100% wool aran (centre), and cotton yarn (right). Indigo is a substantive dye, meaning that fibres don’t need to be mordanted in advance of dyeing (woo hoo!) so all I did to prepare these fabics and yarns was wash them as I normally would (i.e. cottons in the washing machine, silk and yarn by hand), and then leave them soaking in clean water before adding them to the dye pot.
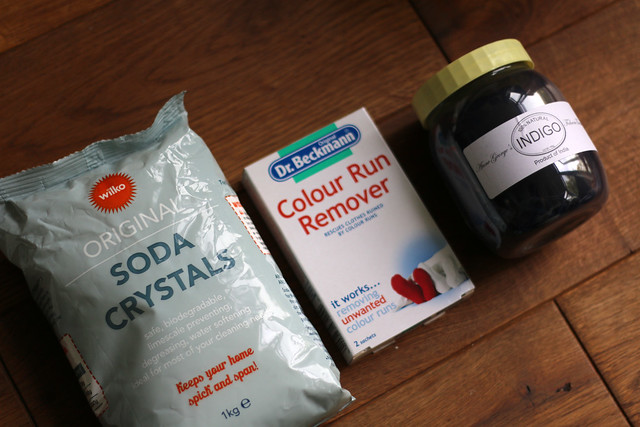
I purchased the natural indigo I used from Fabric Treasury. I bought it in ‘cake’ form, so it arrived as a solid block inside the tub. In order to dye with indigo (create an indigo vat), oxygen needs to be removed from the vat before fibres are added using a reducing agent. There are multiple alternative methods of preparing an indigo vat, but I chose to use the method described by Linda Rudkin in Natural Dyes which uses washing soda and a reducing agent such as colour run remover. I purchased both the washing soda and colour run removed from Wilko.
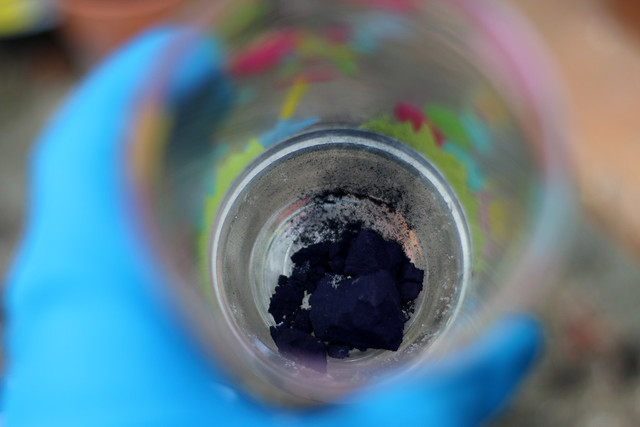
Here is the indigo I chipped off the cake for the dye pot. Only 10g (two teaspoons) is required for up to 400g of fibres, so it goes a long way. I am actually being good and wearing (blue) rubber gloves in the photo below, although I have a bad habit of taking them off. I did end up with blue fingers by the end of the day.
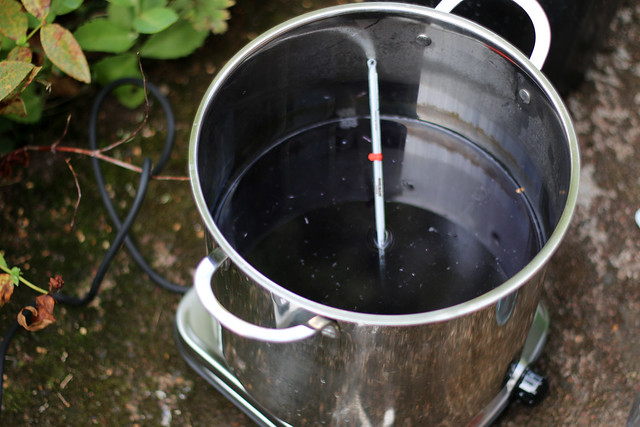
Natural indigo has a strong smell, so I’d recommend dyeing outside if possible. I purchased a cheap one-plate hob to allow me to do this. I was careful to keep an eye on it the whole time it was turned on, in case any curious neighbourhood cats got too close.
To dye 400 grams of fibre the process is:
♥ Thoroughly dissolve 50g washing soda in 250ml of boiling water (this should be in a separate bowl, not your main pan).
♥ Mix 10g (two teaspoons) of indigo with 30ml of warm water to create a paste, and then add to the washing soda solution, stirring until dissolved.
♥ Fill your dye pan with 4 litres of water and heat to 50ºC (it is important the temperature does not exceed 60ºC), then gently add the indigo solution and carefully stir in.
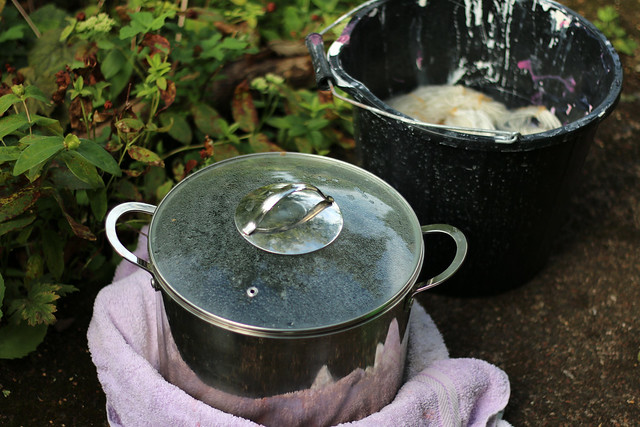
♥ I removed my pan from the heat at this point, wrapping it in a towel. Then I sprinkled 25g (or one packet) of colour run remover over the surface of the pan, covered it and left it to stand for 60 minutes.
♥ After 60 minutes, I added my pre-wetted fibres to the pan. To avoid introducing oxygen into the pan, I first squeezed the fibres to remove excess water and lowered them in slowly. Fibres should be fully immersed below the surface, so I weighted those that refused to stay down!
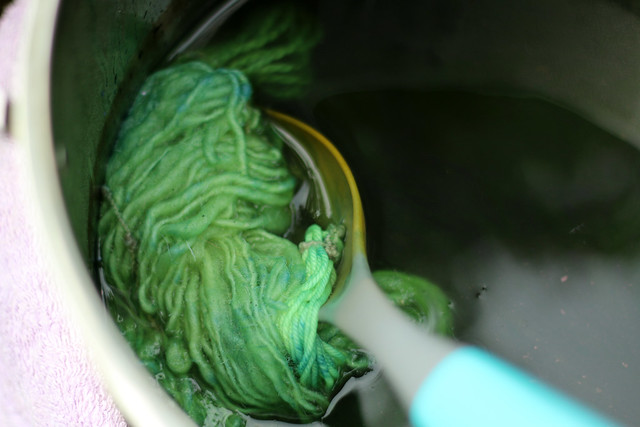
♥ After a few minutes I removed my fibres from the pan with a slotted spoon. When removing fibres you want to avoid drips as much as possible to avoid adding oxygen.
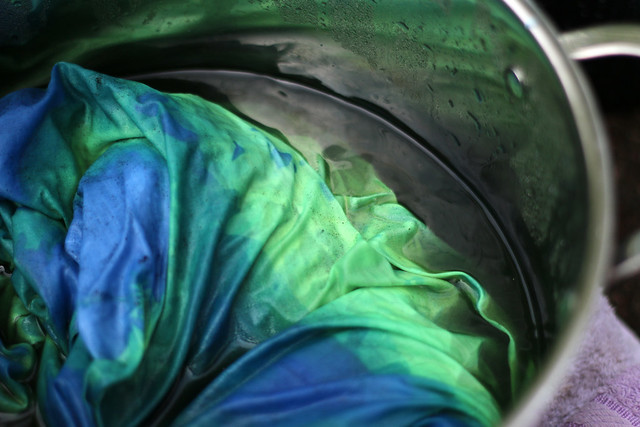
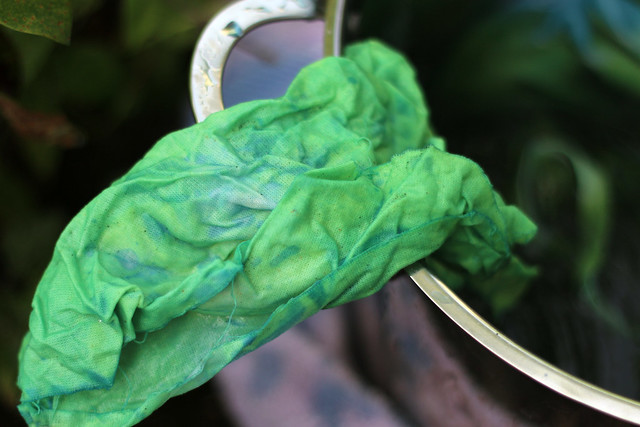
While in the pan the fibres appear green, and turn blue as they are removed and exposed to oxygen. Fibres can be returned to the pan if you aren’t happy with the initial colour achieved.
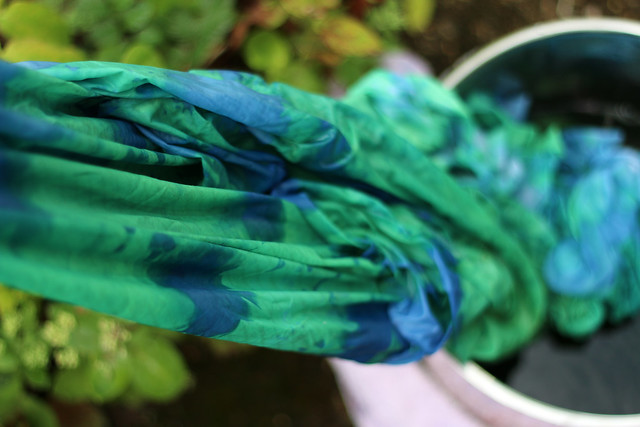
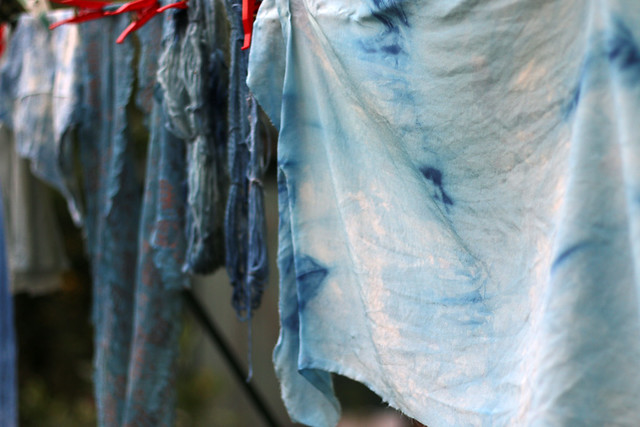
Once removed from the pan, I rinsed the fibres and hung them on the line to dry, before giving them a full wash (in the machine for the cottons, and by hand for the silk and yarn).
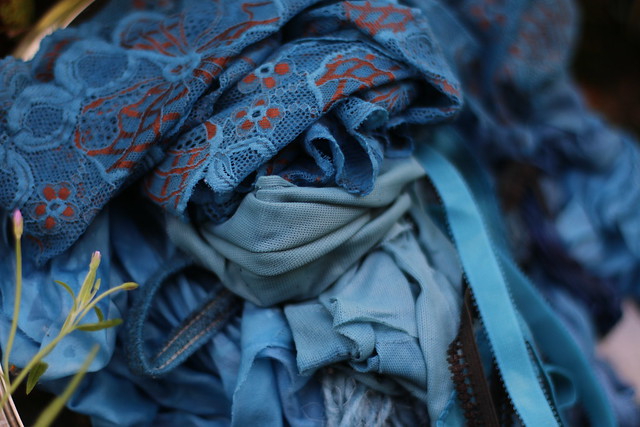
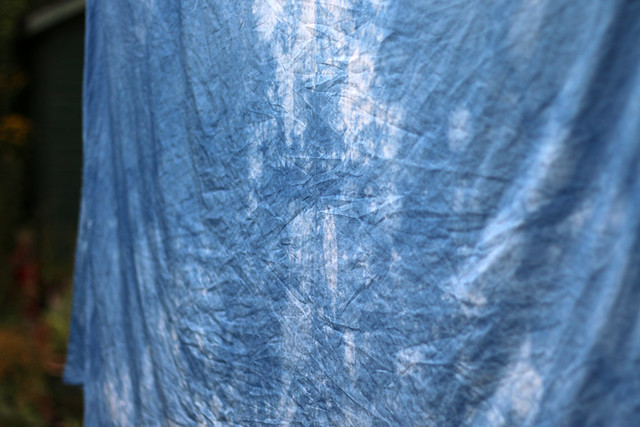
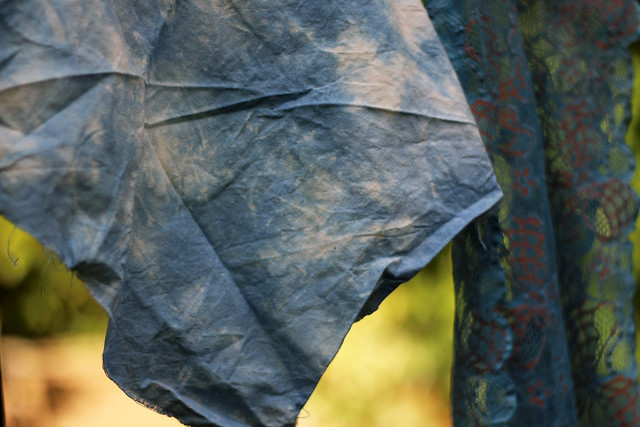
As you can see in the pictures below, I achieved a mottled effect on my fabrics as a result of adding them to the pan scrunched up, and placing large amounts of fibre in the pan. I like the mottled effect, but a more consistent colour could be achieved by ensuring that all areas of the fabric are exposed to the dye, or returning the fabrics to the pan multiple times.
I really love the finished colour of the lace, the nude sections dyed beautifully. The copper sections didn’t take the colour at all, but I think they look great with the blue.
Unbleached cotton, before and after.
Organic silk, before and after.
If you’re thinking about trying natural dyeing I’d recommend a substantive dye such as indigo, since removing the need to mordant fibres makes the dyeing process much quicker. Also, the additional ingredients required (washing soda and colour run remover) are easy and cheap to obtain.