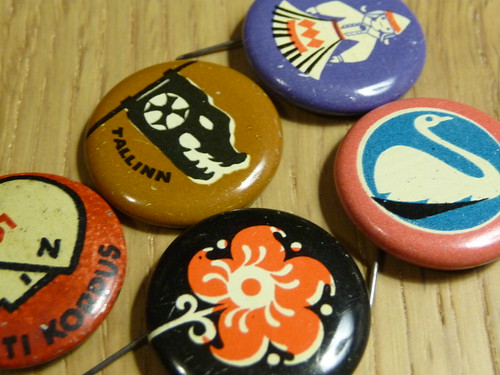
Last year, me and Phil visited Tallinn in Estonia. While there I bought a selection of retro button badges with the intention of doing something with them.
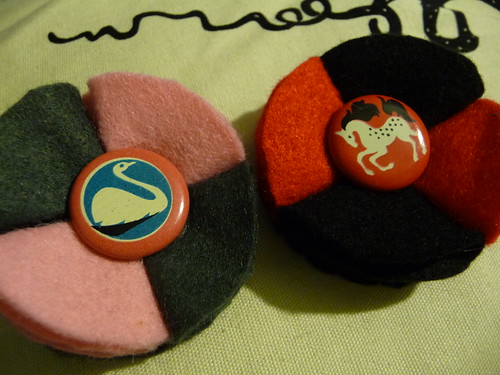
This week I finally got around to it, creating some felt brooches with the vintage button badges at the centre. I’ll be selling these at the charity craft fair me and colleagues are currently organising for August.

These were really easy to make. If your interested in giving it a try instructions are provided below:
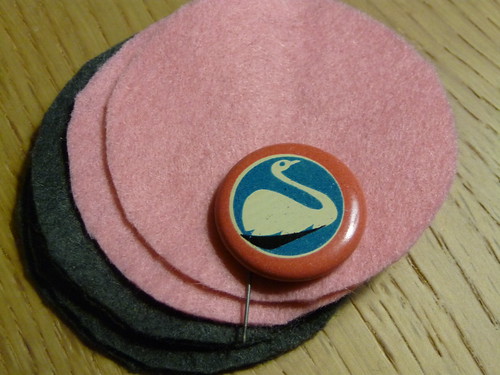
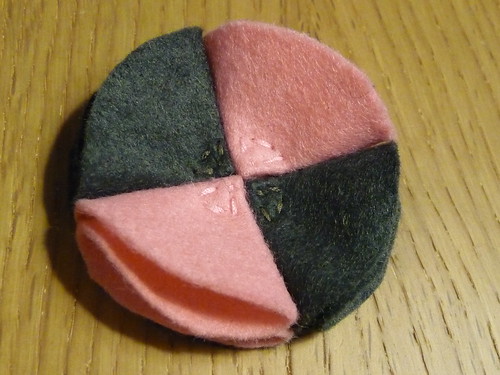
1. Cut seven felt circles a bit larger than the button badge and the size you want to brooch to be. I used two colours of felt for my brooches – with 4 felt circles in the colour that was also used to back the brooch & 2 circles in a contrasting colour.
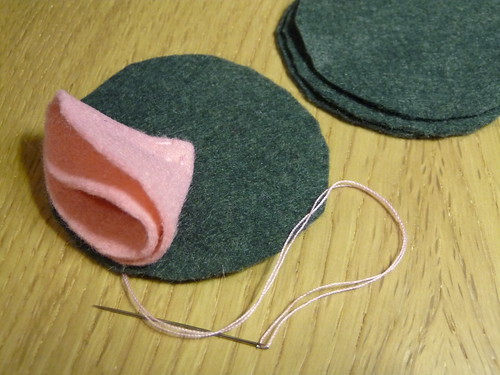
2. Select one of your felt circles as the base of the brooch and sew four of the circles to the front of this to form the four quadrants or quarters of the circular brooch. To do this you’ll need to fold the circles being attached in half and then half again. I attached these to the front of the brooch with a few stitches but you could also use glue.
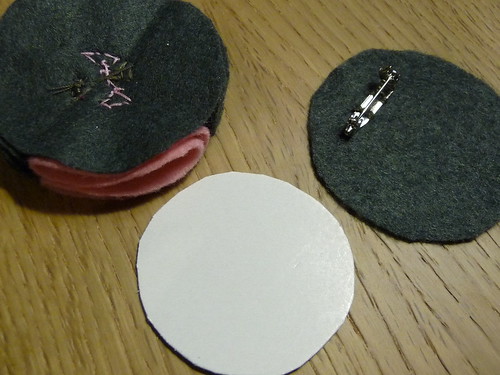
3. In order to make your brooch sturdy cut a circle of cardboard slightly smaller than your felt circles, so that it won’t be visible once the brooch is assembled, and glue this to the reverse of your brooch.
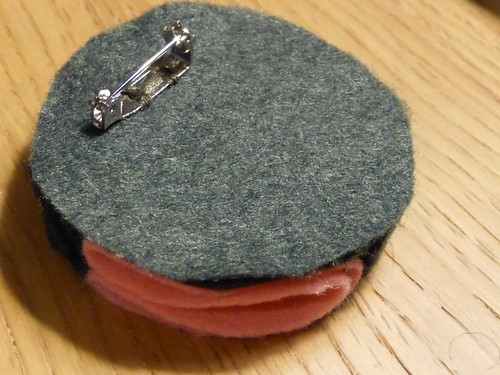
4. Sew a badge back accessory to the remaining sixth felt circle and glue this on top of the cardboard circle you have just attached. I tided the edge of the two back pieces and ensured the cardboard wouldn’t be visible by sewing around the edge of the two back pieces with blanket stitch.
5. Finally attach your button badge to the front of the brooch. You could just pin it on or, for extra stability, attach with glue.