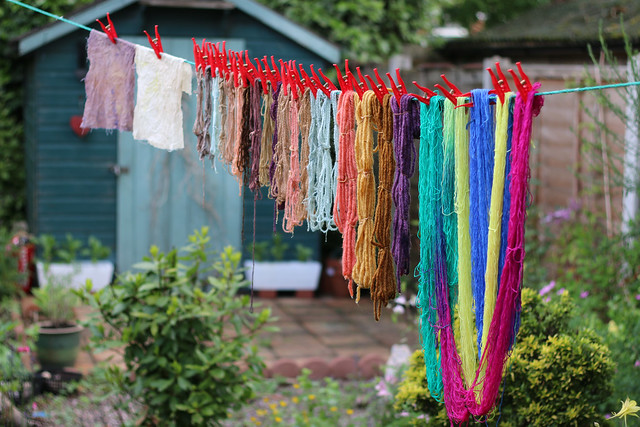
At the most recent meeting of my Weavers, Spinners and Dyers guild, we tried out acid dyes in addition to the natural dyes I previously blogged about. Led by fellow WSD member Rachel, I took the opportunity to dye some white yarn to make self-striping sock yarn.
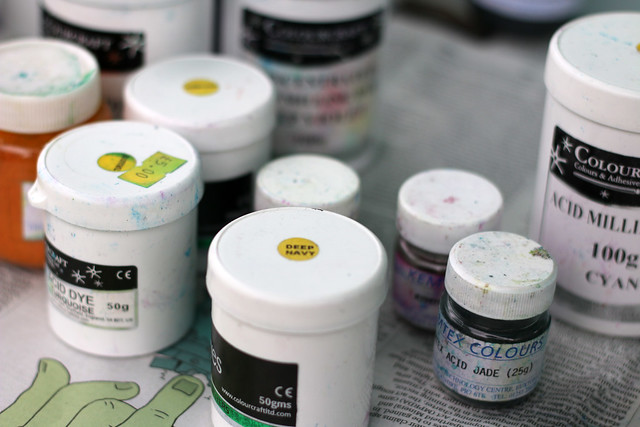
Acid dyes work with protein (animal) fibres and with nylon (as it’s also a polyamide), but not cellulose (plant) fibres. The yarn I was using was a wool and nylon blend. Acid dyes can be purchased with or without the acid already included. We used Kemtex and Colourcraft powdered dyes, and added white vinegar (citric acid is an alternative option) as our acid.
When mixing the powdered dye with the acid you only require 5 gram (approximately one tea spoon) per 100 gram of wool for a strong colour, so a tub of the powdered dye goes a long way. (Rachel recommended 1.5 – 2 gram of dye for medium colours, and 0.5 gram for pale colours).
In order to make a four colour self-striping sock yarn, we each started with 100 grams of white sock yarn, wound into a skein approximately 6.4 metres long, and secured with figures of eight ties every 50cm. (Rachel advised that, when knitted up, this would equate to approximately 2 row stripes of each colour at 64 stitch rows on 2mm needles).
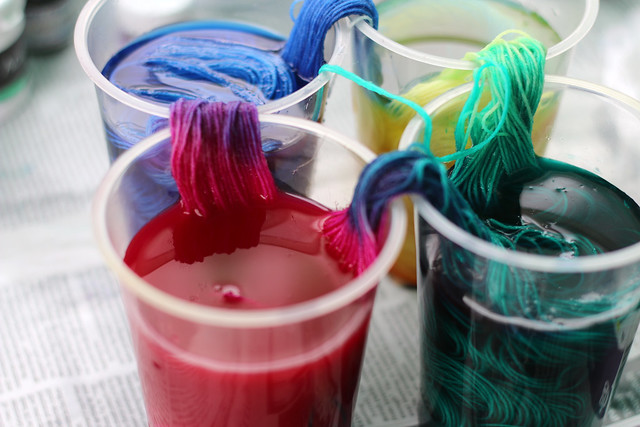
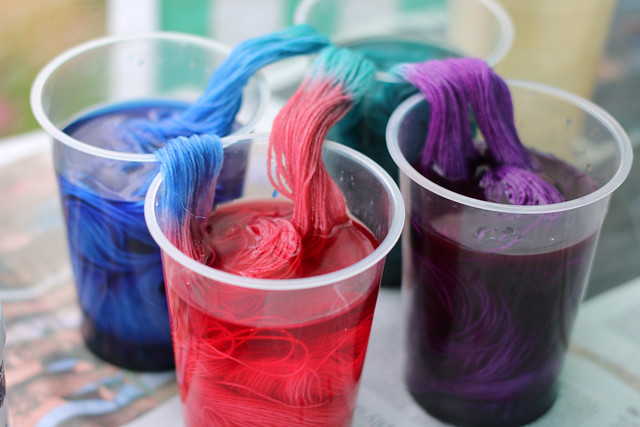
While our skeins were soaking in a bowl of water, we prepared four dyes in separate containers (plastic cups in our case). As only 5 gram of dye is required per 100 gram of wool, we only needed one quarter that amount per dye colour (which equated to approximately one quarter of a teaspoon). One full teaspoon of white vinegar was added to each dye (it’s best to err on the side of too much rather than too little with the acid), and the cups were topped up with enough water to cover the wool.
Once the skeins were thoroughly wet, they were squeezed dry, and then divided equally between the four containers. With such a long skein it’s easy to mess this bit up, so it’s worth taking care to ensure that you have the colours in your preferred order and don’t splash the dye. You also need to make sure that you don’t end up with a white section of yarn at the ‘joins’ between the four colours.
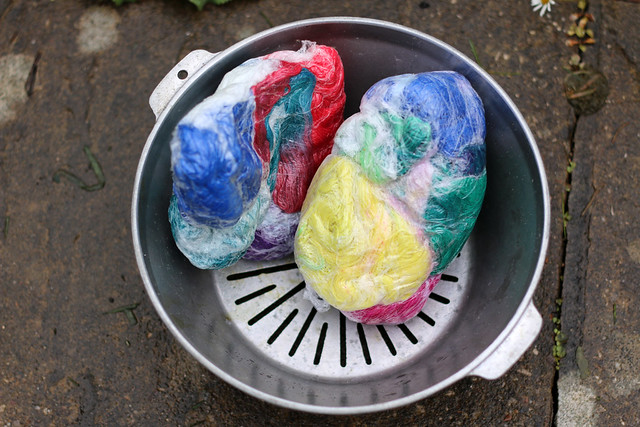
The skeins were left to soak in the dye for ten minutes, after which we carefully removed one quarter at a time from it’s container and wrapped it individually in clingfilm. Once all four sections had been individually wrapped in clingfilm, a final layer was wrapped around the whole skein.
In order to fix the colour, the skeins then had to be heated. We did this by placing the clingfilm wrapped skeins in a steamer on the hob for thirty minutes. This heating can also be done in the microwave or oven, but there’s a much greater chance of burning your wool…
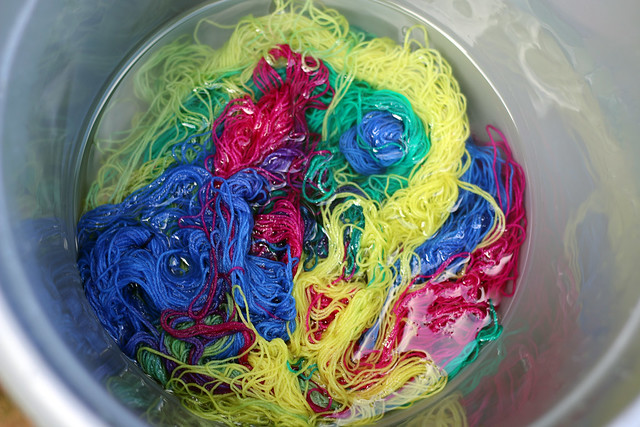
Once removed from the steamer, I left my skein to cool overnight before rinsing it in cool water and then giving it a wash with some wool soak. I didn’t getting any colour running when I washed it – which confirmed that the dye had taken – although there was a very strong smell of vinegar!
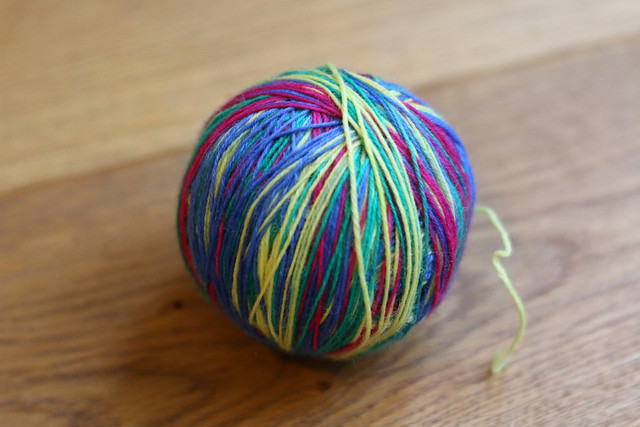
Finally, I wound the yarn into a ball. It’s now waiting for me to choose a suitable pattern and knit it up.
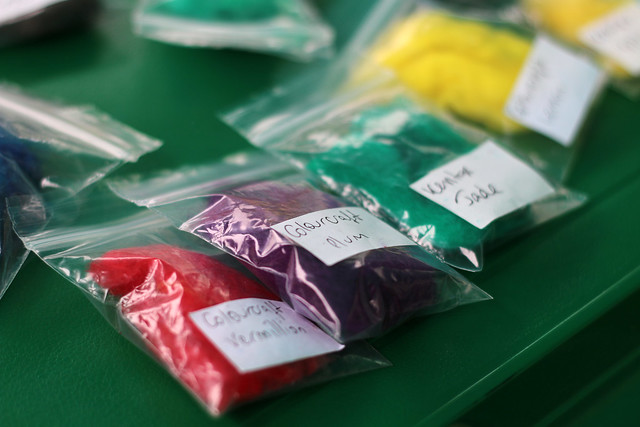
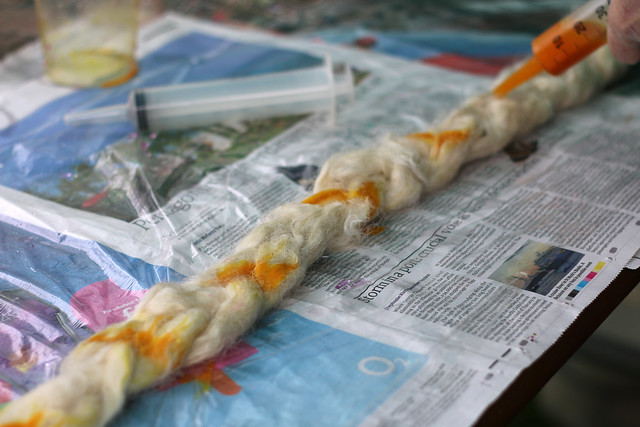
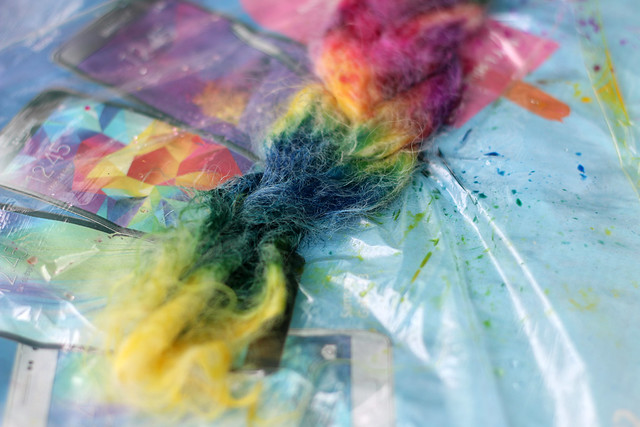
Some guild members used an alternative method to dye fleece for spinning. They prepared the dye in the same way, but then applied it to their fleece using syringes or paint brushes. The fleece was wrapped in clingfilm and steamed in the same way to fix the dye. When dyeing fleece you don’t need to worry about leaving white patches, as these will blend in and lighten the yarn once it’s spun.

