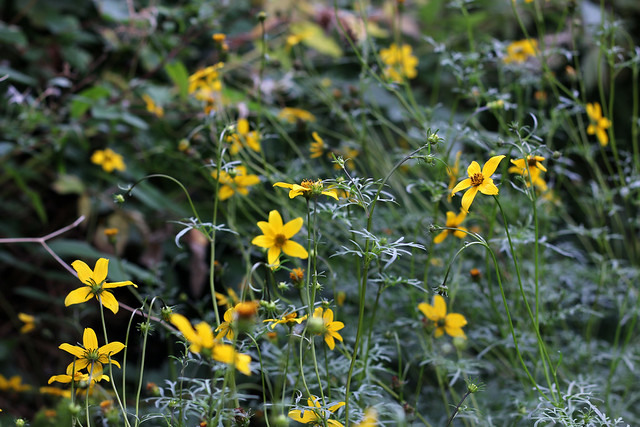
Last weekend I got the chance to try dyeing with one of the dye plants I grew from seed in my garden. Of the plants I chose to grow, my biden and marigold plants have done really well. The teasel plants are looking very healthy (the leaves are huge), but don’t yet have any seed heads, which are the section required for dyeing. I’ve had no luck at all with my bee balm and woad plants (only one tiny woad plant survived) so I’ll try again next year and see if I get better results.
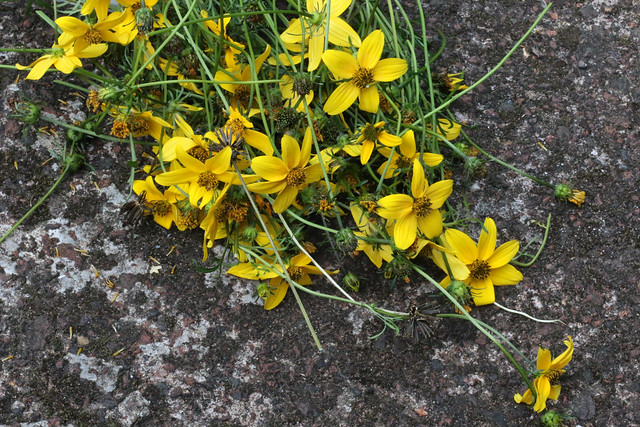
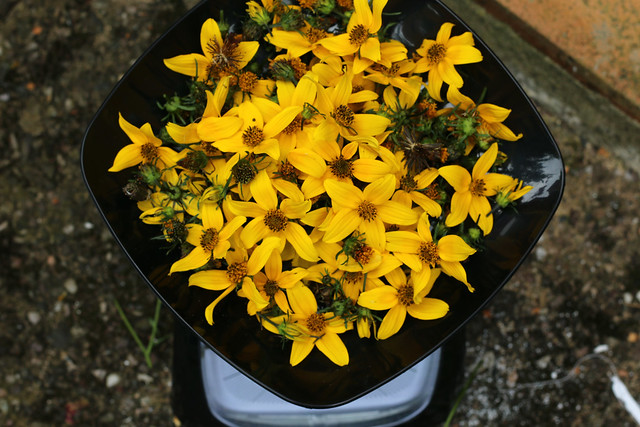
The biden flower heads are the section used for dyeing, so I harvested all the current flower heads, leaving the flower buds for future dyeing / pollinators. I followed the biden dyeing recipe from Harvesting Color by Rebecca Burgess. The recipe recommends a weight ration of 1:1, e.g. the same weight in flower heads as in fibre. I didn’t have enough flower heads to match the weight of the fibre I wanted to dye, so used approximately 25 grams of biden flowers for just over 100 grams of fibre. As a result, I didn’t achieve as deep an orange as I have seen other dyers achieve, but I was still pretty impressed by the results.
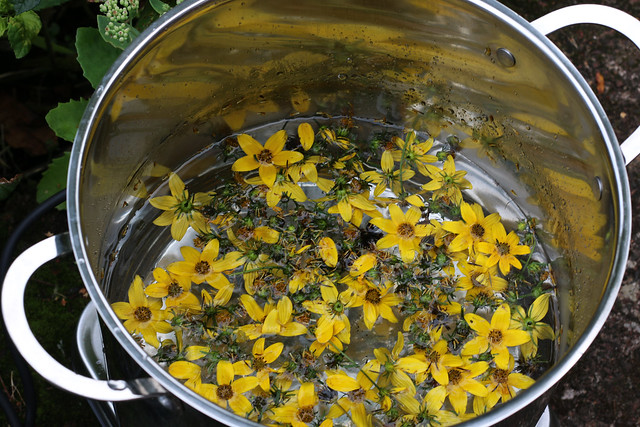
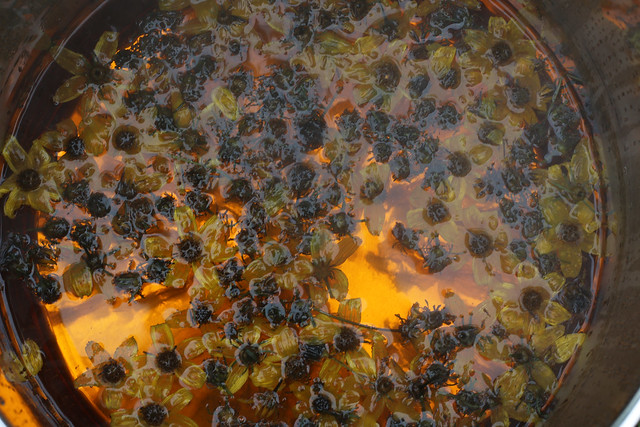
To create the dye, I placed the biden flowers in a large stainless steel pan with enough water to cover my fibre, and slowly brought the water to approximately 70-80ºC over a one hour period. While the pan was heating up, I placed the fibre I planned to dye in a bucket of cold water, so that it was suitably wet through before being added to the dye pan.
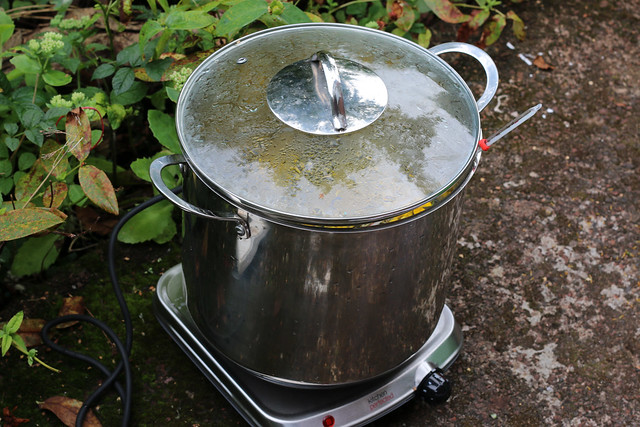
Because natural dyeing can be smelly and messy, I’ve been doing my dyeing outside using a small portable stove.
After an hour, the water in my pan had taken on a orange colour. At this point the plant matter can be strained out, but I left it in the pan, as I wasn’t too concerned about plant matter getting tangled in my fibre.
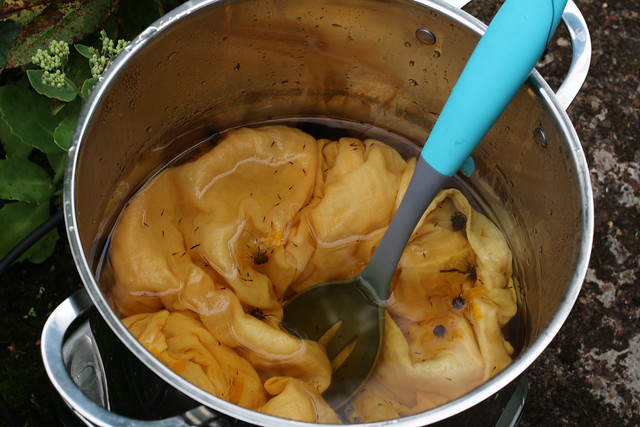
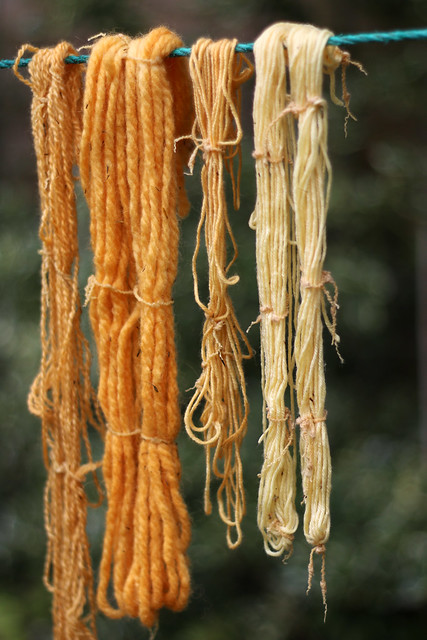
I then reduced the heat to 50-70ºC and added my pre-wetted fibre, maintaining the temperature for approximately an hour. After an hour my fibre had clearly taken on the dye so I removed it from the pan and hung it on the line for around thirty minutes before rinsing the yarn and washing the fabric.
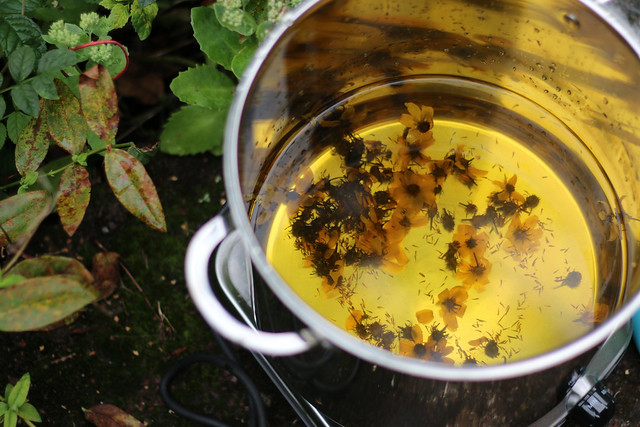
You can see that the water in the pan was a much lighter shade once the fibre had been dyed and removed.
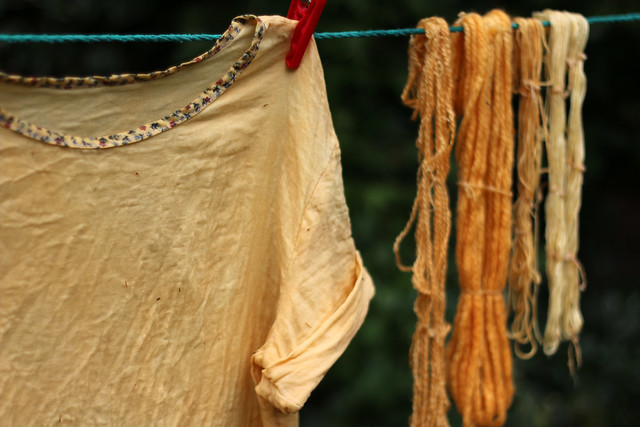
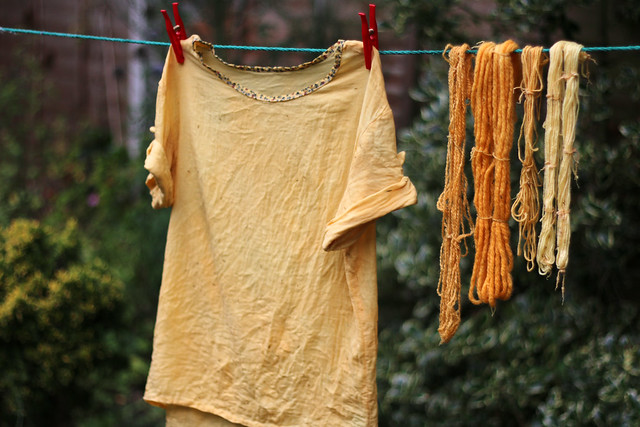
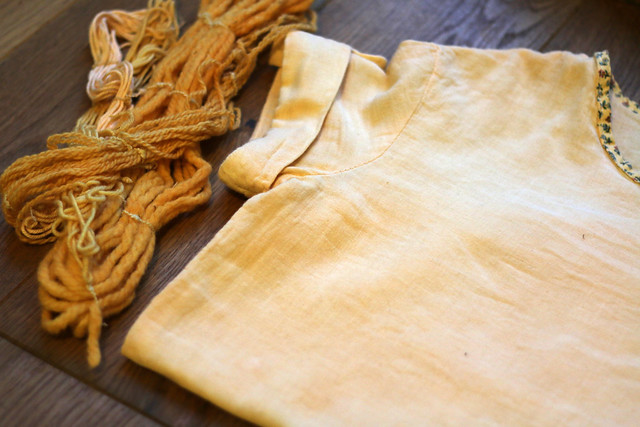
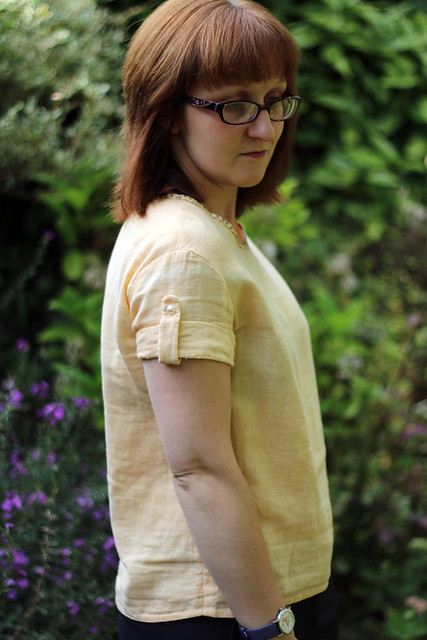
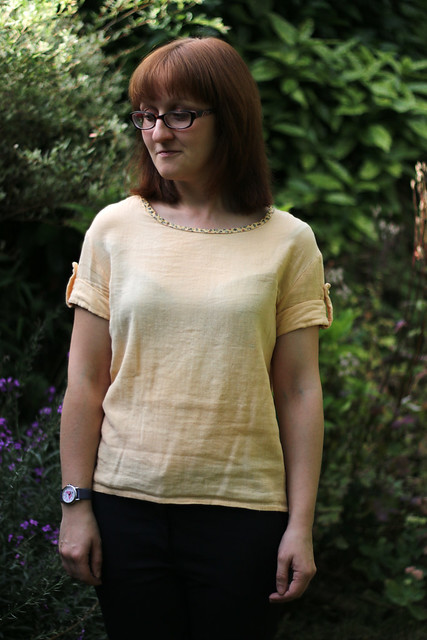
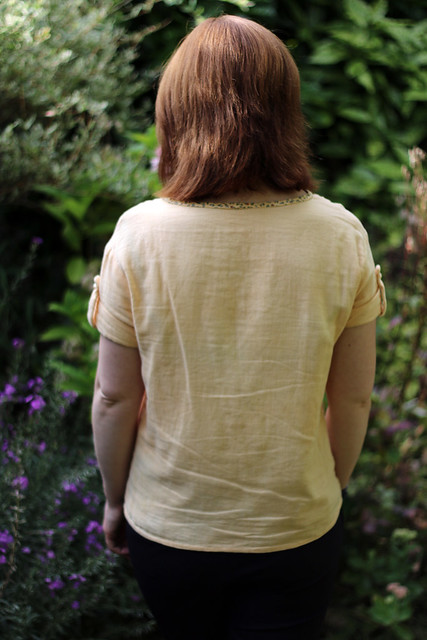
In addition to a selection of yarns, I used the biden to dye my Paprika Patterns’ Onyx Shirt; made in a cotton double gauze purchased online from Etsy shop Fabric Treasury. I previously dyed the Shirt with paprika, but hadn’t mordanted the fabric in advance of dyeing it, and after a few washes the colour had completely faded.
This time I mordanted the shirt in advance of dyeing using an alum and washing soda recipe from The Craft of Natural Dyeing by Jenny Dean. I dyed some cotton yarn at the same time (the two palest yarns shown on the right in the photos below). To mordant the cotton (which weighed approximately 100g) I dissolved 25g of alum into a large pan of hot water, and then slowly added 6g of washing soda dissolved in water. I added my (pre-wetted) cotton and slowly heated the pan to 82-88ºC over approximately one hour. I then removed the pan from the heat and left the cotton to soak overnight. I gave the cotton a good rinse in cold water before adding it to the dye pan.
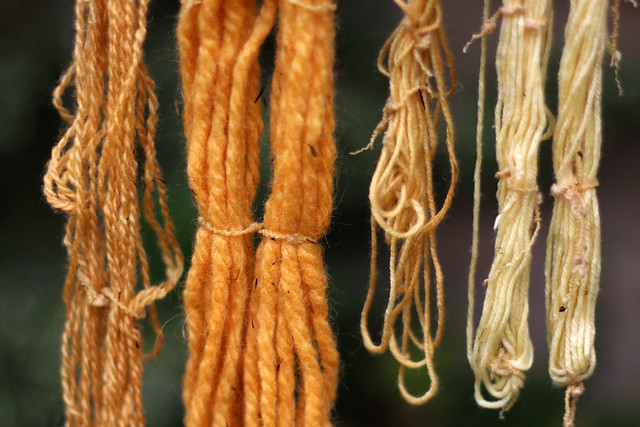
I also dyed three wool yarns, shown from left to right:
♥ 100% wool DK (TOFT Alpaca, in Oatmeal)
♥ 100% merino wool chunky (Rowan Big Wool)
♥ 75% merino / 20% silk / 5% cashmere DK (Sublime)
I mordanted the wool yarns using a recipe shared by my guild. I prepared small skeins, tied with figure-of-eight ties in several places, and soaked these overnight. I dissolved 8g of alum and 7g cream of tartar (available in the baking section of supermarkets) for every 100g of fibre in a pan with a small amount of warm water. I topped up the pan with enough water to cover my fibre and added the yarn. I put the pan on a low heat so that it reached simmering (approximately 82-88ºC) over an hour, and then maintained this heat for a further hour. I then removed the pan from the heat and left the yarn to soak overnight. I rinsed the yarn in cold water before adding it to the dye pan.

