I’m very excited to be sharing my contribution to the Big Vintage Sew-along blogger tour today. Are you taking part? McCall’s have selected twenty McCall’s/Vogue/Butterick vintage patterns, and are donating money from the sale of those patterns to The Eve Appeal gynaecological cancer charity. There’s also a series of events taking place, including an afternoon tea at the Knitting & Stitching Show in October.
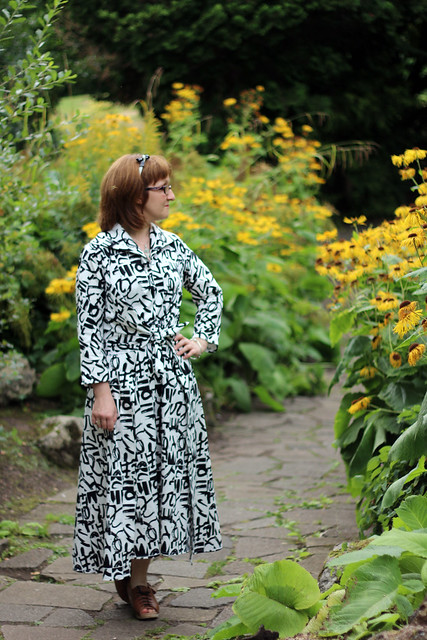
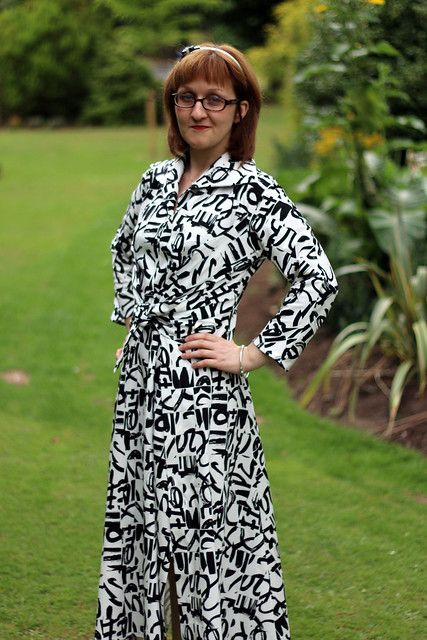
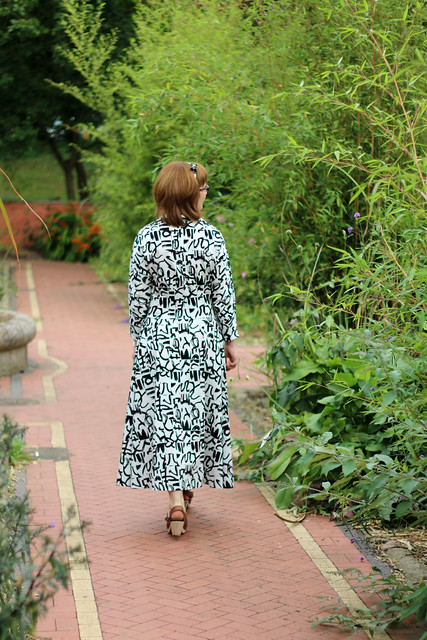
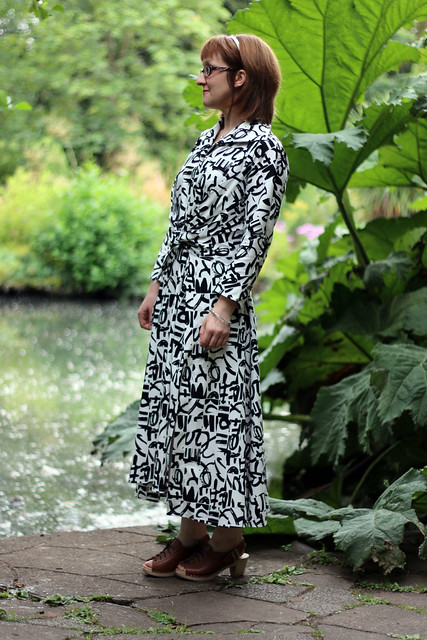
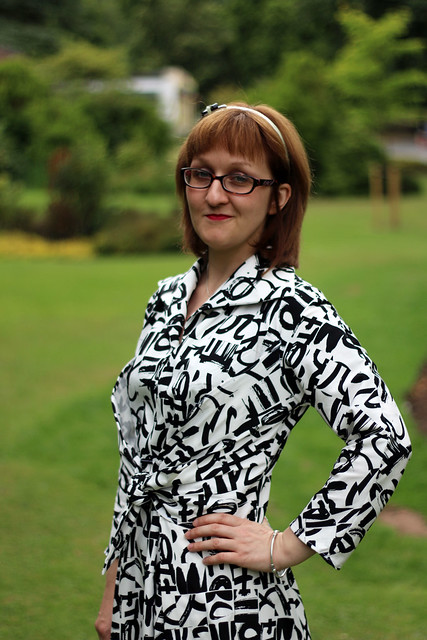
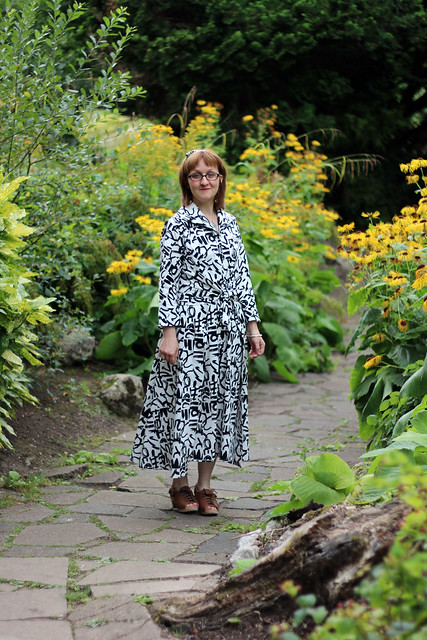
The pattern I chose to sew for the blog tour is Vogue 2401, which (as you can probably tell from the silhouette) is a 1950s’ pattern. I decided on 2401 as I thought it had an unusual (coat dress like) silhouette, and I loved the line drawings (although not the modelled product photo – which is rather naff). I made Version A, the only difference between versions being the sleeve length.
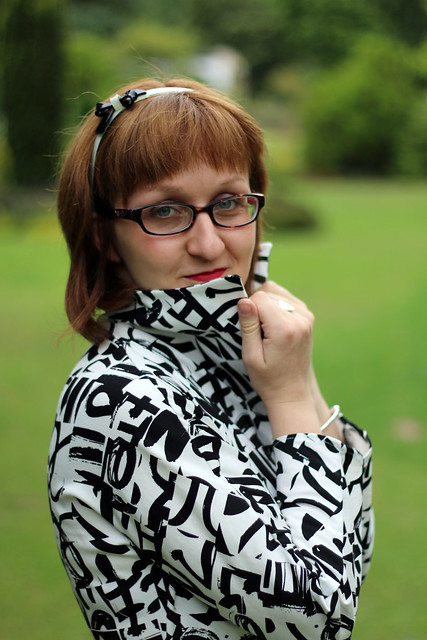
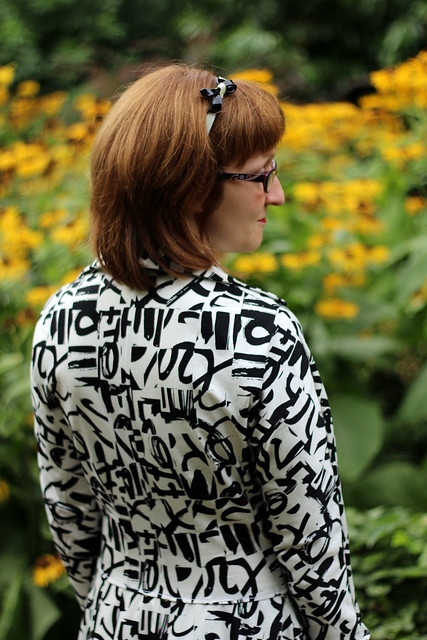
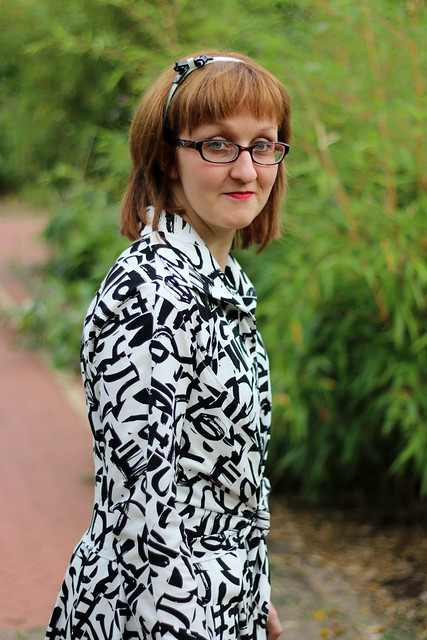
Inspired by the coat dress look, I chose to use a medium-weight fabric. I ordered lots of swatches and took ages making up my mind, but finally decided on this Black and White Graffiti Sateen from The Splendid Stitch. The fabric handled beautifully; I unpicked and re-sewed the bodice multiple times and the fabric handled it like a champ and didn’t fray.
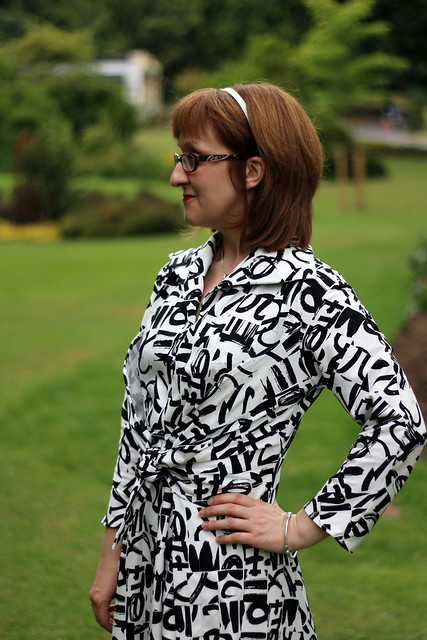
A medium-weight fabric was a good match for the full skirt and structured collar. The only section which would have worked better in a lighter weight fabric are the ties at the front – I’ve tied them in a double knot as otherwise the ends stick up and look a bit unruly. I actually think the tie sections (which wrap from the side of the bodice to the front of the dress) would look great in a contrast fabric – so a lighter-weight, contrast fabric would be perfect for those two pattern pieces. I also think this pattern might work really well in a structured knit fabric.
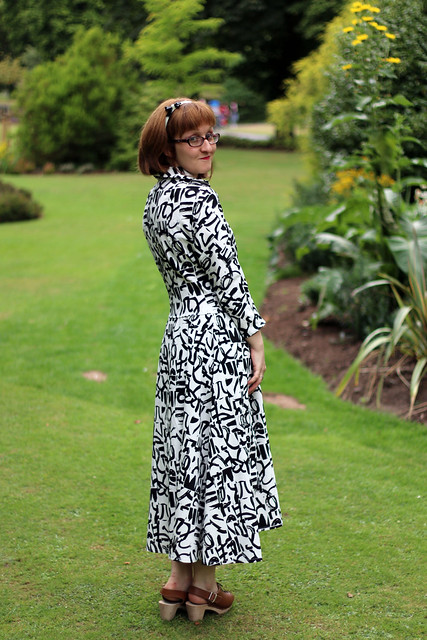
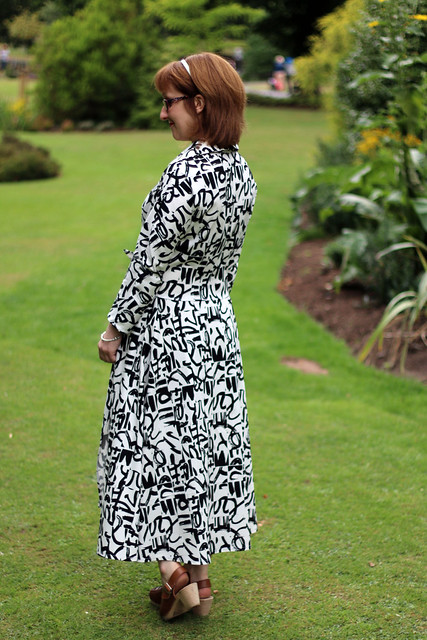
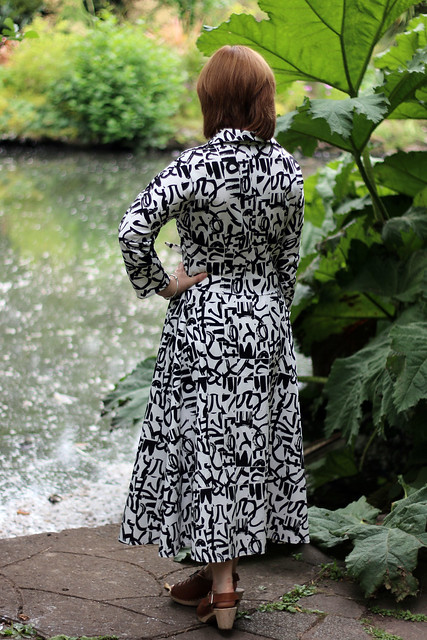
Some of the design details of this pattern are obscured by my fabric choice, and I’m not sure they are particularly obvious from the (quite long) description on the pattern envelope. This is a wrap dress; the dress is tight fitting (there are a lot of darts!) on the arms and top of the bodice, but then opens up with a slit along the sides of the bodice (covered by the bodice wrap section) and the skirt. The skirt is constructed separately from the bodice in multiple panels, with the back/side skirt panels overlapping the front skirt panel. The skirt suffers from a common wrap-dress issue; the skirt panels don’t overlap by very much. I wore this dress on it’s first outing to the park (Cannon Hill Park, a local favourite) to take these photos and I was flashing quite a bit of leg. I’m planning to either secure the panels to one another or add some additional width to the skirt to address this, otherwise every time I wear it I’ll be constantly checking and adjusting the skirt.
I fall between a 10-12 on the pattern sizing chart; because the paper pattern contains a subset of sizes (e.g. 6-10, or 12-16, etc.), I actually fall between two separate paper patterns. I went with the smaller size (to match my bust measurement), and then roughly graded out at the waist / hips. However, with this dress you actually only need to worry about your bust measurement, as the wrap provides ease at the waist and hips.
One thing to note – because this dress is very fitted at the arms and upper body, I actually found that to get it on/off, I really needed to drop/lift it over my head with arms raised, rather than putting it on one arm at a time. As such, it’s one of those dresses that is much easier to put on with assistance!
The bodice has quite an unusual construction method, which reminded me how accustomed I have become to detailed (indie pattern) instructions. I spent ages puzzling over (and repeating) one step, but I think the step which tripped me up is actually very simple. For anyone else sewing the dress, at the final step on Page 2 of the instructions (attaching the front and side front bodice), I believe that the correct construction requires you to cut into the front bodice up to the marker. However, because the instructions don’t explicitly state this, I tried various alternative methods to make the pieces match up.
The only changes I made were to skip the inside belt, which I didn’t think would add much, and interfacing, which the weight of my fabric made unnecessary.
I’m hoping to try a few more patterns from the Big Vintage Sew-along selection before the end of the year. I already have 1940s pattern B5209 cut-out ready to sew, and I’m planning to make 1930s pattern McCalls 7154 to wear to my brother’s wedding in February next year.
Next up on the blogger tour is the lovely Gabby in one week’s time! The previous projects on the blog tour are all pictured here, and the following bloggers are still to come:
